How to Make a Padel Court Sub-base
Construction of the padel court sub-base is not complicated. The whole process is very much similar to road construction. However, TennisKit24 recommends finding a company experienced in road construction in your area. The main reason is that part of the padel court construction work is time-consuming and needs a particular physical input.
Step 1 – Stripping and Removing the Existing Soil as a First Step of the Padel Court Construction
First, remove the soil and other unstable ground to reach the subsoil (sand, gravel).
After that, level the natural base (subsoil) level and tilt it slightly along the edges as a light roof shape. Finally, tighten with a specific roller. We recommend using at least a 2.5-ton ground roller if needed.
Step 2 – Installing Backfill and the Drainage during Padel Court Construction
Install backfill with sand or crushed stone in about 10 cm if the layer of stripped soil and the unstable ground is thicker than 20 cm. Backfill is required to guarantee that the surface of the court stays about 5 cm above the surrounding ground and rainwater is not stuck in the top (surface) layer of the sub-base. Level and tighten the backfill with a roller across the entire layer.
Build the drainage if the location of the court is known for problems with rainwater and excessive moisture or the court is lower than the surrounding area. Install the drainage underneath the court, preferably around the perimeter as well as 3-4 drains across the court itself.
Please follow the generally accepted standards when installing drainage. The recommended depth of drainage is approximately 50-60 cm. This ensures that rainwater reaches drainage pipes quickly and the court dries fast.

If the moisture levels are normal or closer to dry, then there is no direct need for drainage. In construction process of the padel court the sub-base slope is not needed. Court needs reinforced concrete belt around perimeter for installation of the fence posts.

Tighten the filled surface with a roller once you have completed the backfill.
Step 3 – Installing the Geotextile and the Base Load-bearing Layer of Crushed Stone
After installing the backfill, lay the geo-textile on the soil or backfilled surface across the entire court. The purpose of geotextile is to separate the natural subsoil (or backfill) and the crushed stone of the sub-base. By doing this is possible to secure that the layer of the crushed stone does not mix with the natural subsoil (or backfill) during later infilling of crushed stone. Such separation of layers also ensures that the crushed stone base drains well.
Construct the base layer of crushed stone after the installation of geotextile. The recommended thickness of this layer of crushed stone is 20-25 cm at a minimum. TennisKit24 suggests using a crushed stone fraction of from 16-32 mm. The crushed stone must be clean (no “0” fractions), square, split and either limestone or granite. Using correct crushed stone forms a uniform surface upon the tightening process. Round gravel is a poor choice because it is complicated to compress and the base layer of the court may remain unstable.
Finally, level the entire base layer and tighten properly with a roller. The minimum weight of the roller is 2.5 tons, recommended is 7 tons.
Step 4 – Installing the Reinforced Concrete Belt Around the Perimeter
After the packing of the load-bearing layer of crushed stone, install the reinforced concrete belt around the perimeter of the padel court.
TennisKit24 recommended size of the belt is 35×35 cm. The measurements of the area bordered by the concrete belt (interior measures) are 10.00×20.00 meters. Later the same area is covered with artificial grass. Check the diagonals of the court carefully during construction as the diagonals must be equal length. There is no slope for the padel court. If the backfill and the base layer are installed correctly, then the upper edge of the concrete belt remains 9-10 cm above the base layer.
Install posts of the fencing later when the entire sub-base is ready. Take care during the installation works for the posts not to ruin the sub-base top layer.
Step 5 – Installing the Middle Wedging Layer of (Finer) Crushed Stone
The next layer of the sub-base is the middle wedging layer. The suggested thickness of this layer is 3-4 cm. We recommend using the crushed stones fraction from 4-8 mm or from 4-16 mm. Level and tighten carefully the crushed stone with a roller across the entire layer. The purpose of this layer is to prevent the next layer (if made of grit) from getting washed into the coarse crushed stone with rainwater.
Step 6 – Installing the Top Layer
Start installing the top layer right after the wedging layer tightening is ready. There are two options for the top layer:
- grit layer
- draining asphalt layer
Grit as a Top Layer for Padel Court Construction
Grit is a byproduct of manufacturing crushed stone. The best option is granite grit with a fraction of from 0-8 mm. Limestone grit (ash) is not a good choice as it will clump over time and therefore rainwater will not drain. Gravel grit containing clay is also unsuitable for the same reason.
Install the grit layer level with the upper surface of the curbstone. Take care not to build a “bowl” where the grit layer is lower than the curbstone. This makes it harder to drain rainwater and the grit layer may end up soft due to moisture.

The standard thickness of the grit layer is 5-6 cm. A thinner layer is not good because it will be difficult to get a stable surface. Also, the parts of crushed stone with a bigger fraction in the lower layers may break through the grit layer, later complicating the installation of the artificial grass.
If you are able to use a specialized laser-equipped spreader, then this is the easiest way to achieve a good result. Install the grit in two layers by hand in the following way if you don’t have a device like this
How to Install a Grit Layer Without a Laser-Equipped Spreader
Install the grit layer, level and tighten it with a roller. Use pipes to install this layer. Be careful and tighten the pipe locations particularly carefully, so that there will not be lower spots after the pipes are removed. Fill the locations of the pipes with the grit. Check the levelness of the sub-base with strings and bars after the grit layer is installed.


Mark the lower and higher areas and then add or remove grit accordingly.
Tighten the entire surface again with a roller. An excellent result is a flat and stable, steadily hardened surface, with a level measured with a 3 m bar and a variation of 5-6 mm at most. The more stable and level the sub-base is, the higher the courts’ final quality will be. Bear in mind that the installed artificial grass will take the form of the sub-base and won’t cover up any defects. Check the area of the lines carefully, because imperfections are particularly visible under the white lines.

The grit as a top layer material is relatively cheap as grit is a low-cost material, and the court surface is later foot-friendly. However, the downside of the grit is the longer installation period.
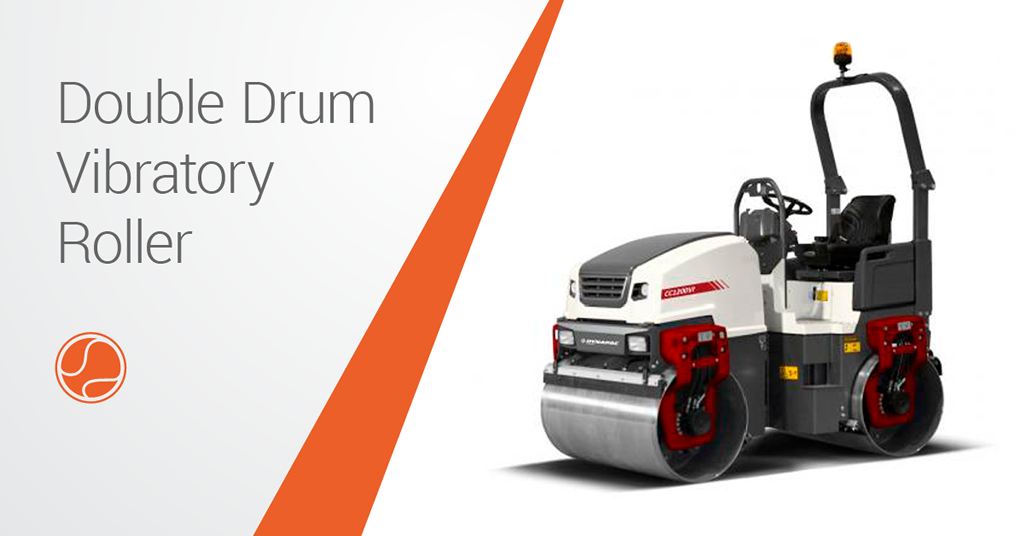
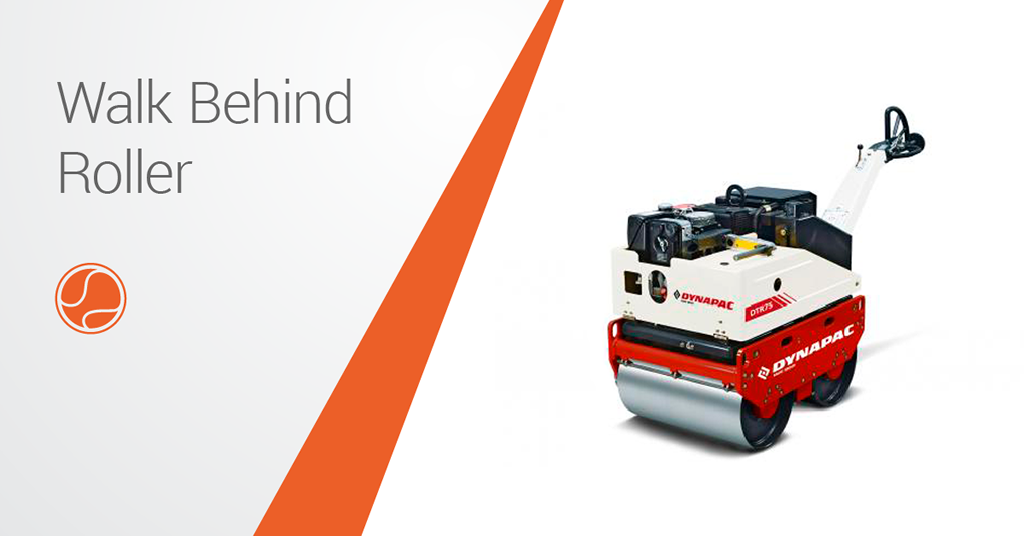
Tighten the top layer again with the roller. We recommend the double drum vibratory roller as the best option. For the top layer, you can also use a lighter weight walk behind roller.
Asphalt as a Top Layer for Padel Court Construction
The second option as a top layer for padel court is draining (water-permeable) asphalt.
With draining asphalt, the rest of the sub-base has the same structure as with grit. The only difference is the final 5 cm layer as the recommended thickness of the asphalt layer is 5-6 cm.
If you go for drainage asphalt, order the asphalt layer installation from a road construction company that is involved in this business daily.
The advantage of this option is the completion speed. The installation of the asphalt layer is fast with a special paver. In comparison with the grit, the downside is the higher cost. Also, the second disadvantage is the lack of interest in road construction companies in small-scale asphalt installations.
The sub-base construction of the padel court is ready for the installation of padel net posts and artificial grass once the grit or draining asphalt layer installation is finalized.