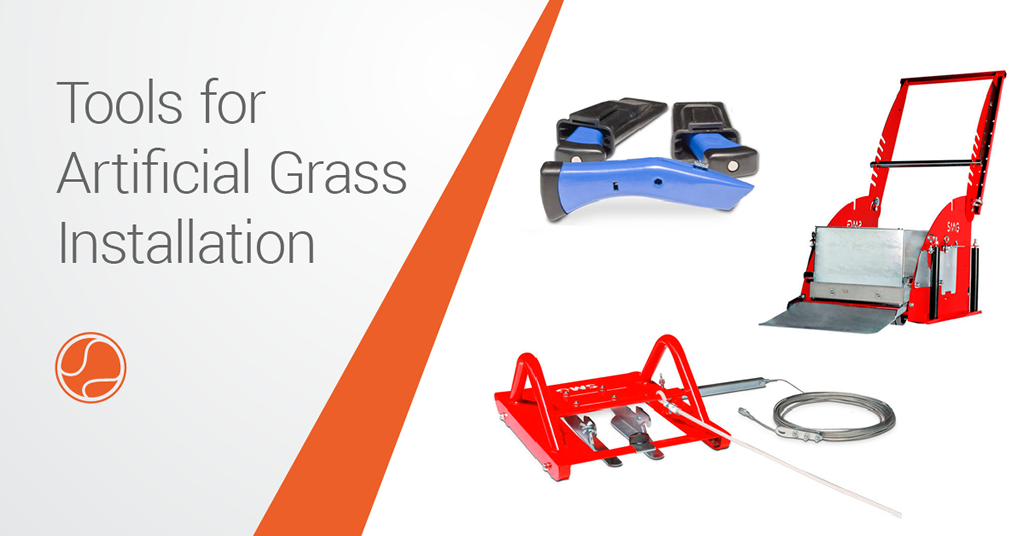
How to Install an Artificial Grass TennisKit
Artificial grass installation requires a good-quality sub-base explicitly built for this purpose. The instructions of tennis court sub-base construction below contain the most important points to pay attention to.
Short Description of Artificial Grass Installation for TennisKit
Lay out the rolls of artificial grass as loose pieces, cut to size and then connect with a special tape and glue. The line-markings are white and are mostly tufted into the artificial turf by the manufacturer. Cut in the center service line, service lines and center mark during the installation process. Fill the artificial grass with dry, sieved round-grain quartz sand.
Step 1 – Artificial Grass Installation
Before Installing Artificial Grass Check the Completeness of TennisKit
Carefully check the completeness of materials delivered by TennisKit24 and the compliance with the packing slip.
The complete TennisKit must contain:
- nine (9) rolls of artificial grass
- five (5) buckets of the glue
- three (3) rolls of tape
Each grass roll has a unique marking (code). Check that the codes on rolls match those on the packing slip.
Make sure to follow the letters on the rolls during the artificial grass installation process. The rolls are marked with the letters A, B, C, D, E, and F.
Please follow the drawings of Tenniskit rolls and lines layout regarding each color combination.


Mark the Court Position on the Sub-Base
After checking the completeness of TennisKit, mark the position of the court on the sub-base.
First, mark the axes of the court. For this, measure the lengths, widths, and diagonals across the court and mark down the centers of the sides (e.g., marks on curbstones or stakes). Make sure that the line going through the center of sleeves of net posts lines up with the perpendicular axis of the court.
Secondly, when the court axes are marked down, mark the contours of the playing area (length and width) on the sub-base and/or curbstone (preferably with stakes) based on court axes.
Roll Out the First Central Rolls (A, B and C) of Artificial Grass
After marking down the court axes and contours of the playing area, roll out the first three central rolls of artificial grass (rolls A, B, and C).
Make sure that the rolls are rolled out in the same direction. This means that the grass piles in the rolls remain pointing in the same direction. This will ensure that the court surface will look good after the artificial grass installation is finished.
Shift the Opened Rolls to the Marked Playing Area
Once the artificial grass rolls A, B and C are rolled open, the next step is shifting the rolls A and B to the right places according to the marked playing area. To make the process easier, we suggest connecting the stakes with string. So, the lines mark the outer contours of the playing area.
Once the rolls A and B are in place, the roll C must be set between with an overlap. Roll C runs parallel with rolls A and B so that later the center of the white line of roll C runs precisely on the longitudinal axis of the court.

Make Necessary Cuts along the Edges
Cut off the technological fabric along the edges of rolls A and B.
After that, cut off the overlap of roll C so that the seam between rolls A and C and rolls C and B is precise and uniform. The part cut off must not be too big. Otherwise, there is a gap between roll materials. Nor too small, or the artificial grass will wrinkle. The outer length of the part with lines must be 10.97 meters.
Install the D-rolls
The next step is installing the D-rolls. As a first step, roll out the D-rolls and set them to place. One edge of the D-rolls contains the baseline of the playing area 7.5 cm wide. This edge of the roll must be set towards the playing area accordingly.
The white lines along the other edge of the D-roll must be cut off. These will later be used to install the lines of the service box.
Install the D-rolls the same way with glue and tape as rolls A, B, and C. The outer length of the lined part of the D-roll, i.e., the range of the playing area, must be 23.77 meters.
Install the Lines of the Service Box
After the D-rolls are in place, install the lines of the service box. The material for those lines is tufted into the edges of the D-rolls. This is white part 10 cm wide. Be careful and do not mix with the white part 7.5 cm wide in the edges of the D-rolls, that is the baseline.
Cut the 10 cm wide white part off from the edge of the D-roll. Then cut this into two pieces, 5 cm is wide each.
Once you have the material for lines, you need to mark the lines for the service box on the court. The easiest way is with stakes and string, the same way as for marking the playing area.
So, when you have marked down the locations of lines, install the service lines and center service line. Cut a strip 5 cm wide from the artificial grass of the playing area. Place 5 cm wide lines you cut earlier from the edges of the D-rolls into these gaps. The distance of the service lines (outer edge) is 6.4 meters from the center point of the court. The service lines are 8.23 meters long and equal with the width of the playing area.
How to Glue the Grass and Lines
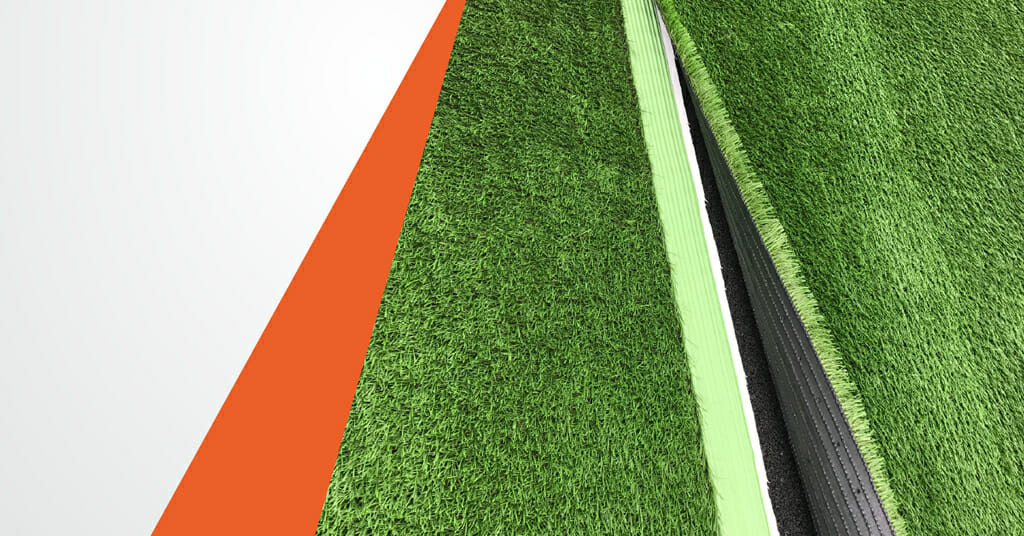
After shifting the rolls at the right place and cutting out the lines, the assembled artificial grass rolls and lines are ready for gluing.
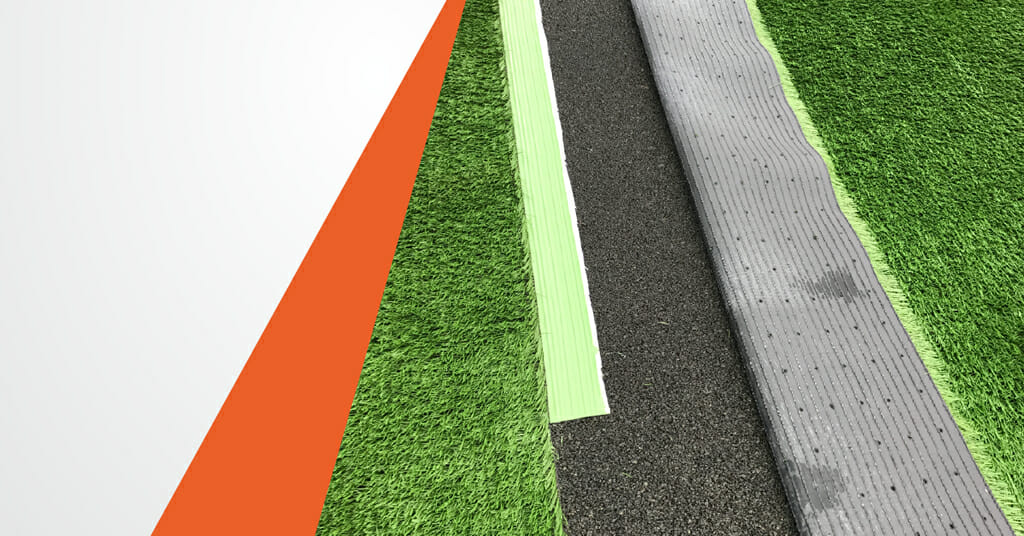
Turn the artificial grass back at the connecting point of the panes. Cut the tape with an overlap of 15 centimeters length-wise and place at the connection of grass panes. Once the tape is cut, cover it with glue at the width of approximately 200 mm.
Press the grass against the glue-covered tape, and roll or press over the connection of panes with weight.
The seam of glued panes must be flattened (pressed) again after about 1-2 hours to ensure that the seam is not connected poorly.
Install the G-rolls
Start with the installation of the G-rolls after the D-rolls are installed, and all pieces of artificial grass assembled so far have been glued together. Place the G-rolls parallel to the A and B rolls, shift to place and fix the same way as the other rolls. Cut out the openings for the tennis net post sleeves at the post sites.
Install the E-rolls
After previous seams are glued, install the final two rolls – E-rolls. Install the E-rolls parallel to the D-rolls: shift to place and fix with the glue and tape the same way as the other rolls.
Step 2 – Infill Sand Installation
After the artificial grass TennisKit installation is completed, start with a round-shaped quartz sand infill.
Infill sand technical requirements are found here. The infill sand must be dry for the installation. In addition, the artificial turf must be dry as well to guarantee the best final result.
Start the sand infill at the center of the court, uniformly moving towards the edges. This way, the artificial grass does not wrinkle under the weight of the sand.
The amount of sand depends on the type of artificial grass. This information is provided in the specifications of the grass.
Brush the infill sand uniformly into the artificial grass. Make sure to cover the entire surface of the court. It’s good to overfill in the first place, the infill will settle over time.
Once you have installed the sand, the outer edges (court edges) must be cut straight. Cut artificial grass off so that the edge of the grass is even with the inner side of the curbstone.
The court surface is ready when the edges of the court are cut. However, before playing you need to install the tennis posts, net, and central band.
If the court needs to be fenced, then the fencing panels can be installed after the artificial grass, but fence posts installation is recommended to perform before TennisKit installation.